Showing posts with label HTML5. Show all posts

ChartJS for Data Vizualiizations

I came across ChartJS about 2 years ago while debugging code from another, similar data visualization technology inside an AngularJS app.


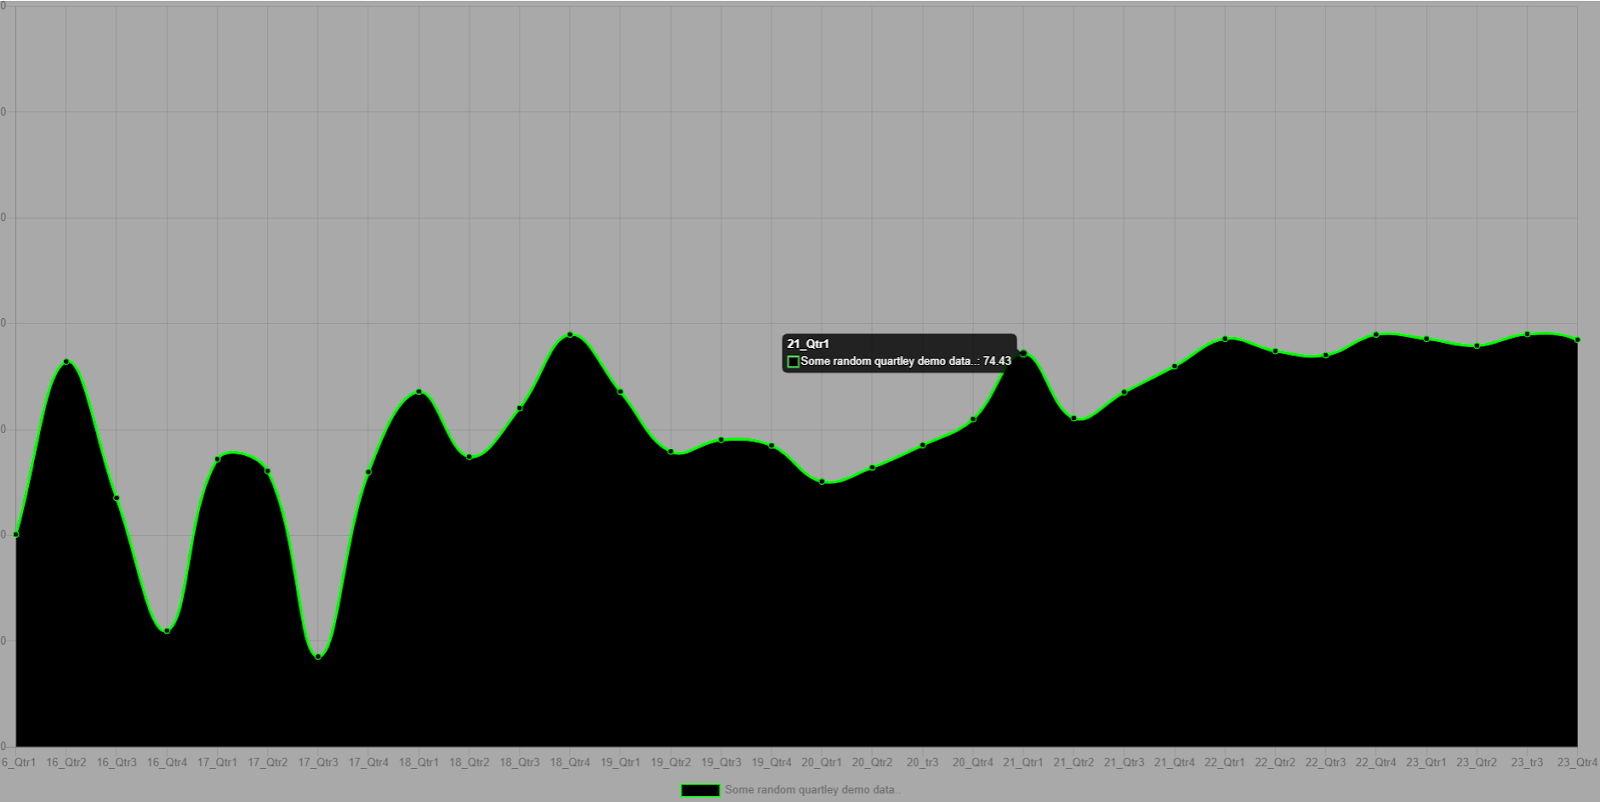
ChartJS is a flexible JavaScript data visualization framework which allows for some pretty powerful integrations and customizations


The concept is you have a "<canvas>" DOM element, which you transform into a ChartJS chart via some JavaScript initialization. After that your tasks are simply finding the data you want to render and deciding the options of exactly how you want the chart visual to appear.

You can do some really neat and dynamic stuff with ChartJS.

I have used a lot of charting frameworks, and it does not get more flexible or simple than this:
 <html>  
 <head>  
 <script src="https://cdn.jsdelivr.net/npm/chart.js@2.8.0"></script>  
 </head>  
 <body>  
 <div>  
 <canvas id="myChart" style='background-color:darkgray; width:100%; height:100%;'></canvas>  
 </div>  
 <script>  
 var ctx = document.getElementById('myChart').getContext('2d');;  
 var chart = new Chart(ctx, {  
   type: 'line',  
   data: {  
     labels: ['16_Qtr1', '16_Qtr2', '16_Qtr3', '16_Qtr4', '17_Qtr1', '17_Qtr2', '17_Qtr3', '17_Qtr4', '18_Qtr1', '18_Qtr2', '18_Qtr3', '18_Qtr4', '19_Qtr1', '19_Qtr2', '19_Qtr3', '19_Qtr4', '20_Qtr1', '20_Qtr2', '20_tr3', '20_Qtr4', '21_Qtr1', '21_Qtr2', '21_Qtr3', '21_Qtr4','22_Qtr1', '22_Qtr2', '22_Qtr3', '22_Qtr4', '23_Qtr1', '23_Qtr2', '23_tr3', '23_Qtr4'],  
     datasets: [{  
       label: 'Some random quartley demo data..',  
       backgroundColor: 'black',  
       borderColor: 'lime',  
       data: [40.2, 72.88, 47.1, 22, 54.43, 52.18, 17.1, 52, 67.2, 54.88, 64.1, 78, 67.2, 55.88, 58.1, 57, 50.2, 52.88, 57.1, 62, 74.43, 62.18, 67.1, 72, 77.2, 74.88, 74.1, 78, 77.2, 75.88, 78.1, 77, 70.2, 72.88, 77.1, 62, 64.43, 62.18, 67.1, 72, 67.2, 54.88, 44.1, 28, 27.2, 25.88, 38.1, 37, 40.2, 42.88, 44.1, 52, 54.43, 52.18, 67.1, 82, 87.2, 84.88, 84.1, 88, 87.2, 95.88, 108.1, 127]  
     }]  
   },  
    "options": {  
       "legend": {"position": "bottom"}      
     }  
 });  
 </script>  
 </body>  
 </html>  


Reference: https://www.chartjs.org/

Neat UI Effects with jQueryUI and Animate.CSS

So you want neat animation effects on your UI? Seems like it might be a tricky implementation, right?

Animate.css makes it easy to implement modern UI animation effects that make for better user experience/cues


It could not be simpler with jQuery UI and other open source options. Here is an easy sample to pick up and run with from jQuery.com:

jQuery UI Effects
 <!doctype html>  
 <html lang="en">  
 <head>  
   <meta charset="utf-8">  
   <meta name="viewport" content="width=device-width, initial-scale=1">  
   <title>jQuery UI Effects - Effect demo</title>  
   <link rel="stylesheet" href="//code.jquery.com/ui/1.12.1/themes/base/jquery-ui.css">  
   <link rel="stylesheet" href="/resources/demos/style.css">  
   <style>  
     .toggler {  
       width: 500px;  
       height: 200px;  
       position: relative;  
     }  
     #button {  
       padding: .5em 1em;  
       text-decoration: none;  
     }  
     #effect {  
       width: 240px;  
       height: 170px;  
       padding: 0.4em;  
       position: relative;  
     }  
       #effect h3 {  
         margin: 0;  
         padding: 0.4em;  
         text-align: center;  
       }  
     .ui-effects-transfer {  
       border: 2px dotted gray;  
     }  
   </style>  
   <script src="https://code.jquery.com/jquery-1.12.4.js"></script>  
   <script src="https://code.jquery.com/ui/1.12.1/jquery-ui.js"></script>  
   <script>  
     $(function () {  
       // run the currently selected effect  
       function runEffect() {  
         // get effect type from  
         var selectedEffect = $("#effectTypes").val();  
         // Most effect types need no options passed by default  
         var options = {};  
         // some effects have required parameters  
         if (selectedEffect === "scale") {  
           options = { percent: 50 };  
         } else if (selectedEffect === "transfer") {  
           options = { to: "#button", className: "ui-effects-transfer" };  
         } else if (selectedEffect === "size") {  
           options = { to: { width: 200, height: 60 } };  
         }  
         // Run the effect  
         $("#effect").effect(selectedEffect, options, 500, callback);  
       };  
       // Callback function to bring a hidden box back  
       function callback() {  
         setTimeout(function () {  
           $("#effect").removeAttr("style").hide().fadeIn();  
         }, 1000);  
       };  
       // Set effect from select menu value  
       $("#button").on("click", function () {  
         runEffect();  
         return false;  
       });  
     });  
   </script>  
 </head>  
 <body>  
   <div class="toggler" style="margin-top:200px;">  
     <div id="effect" class="ui-widget-content ui-corner-all">  
       <h3 class="ui-widget-header ui-corner-all">Effect</h3>  
       <p>  
         Etiam libero neque, luctus a, eleifend nec, semper at, lorem. Sed pede. Nulla lorem metus, adipiscing ut, luctus sed, hendrerit vitae, mi.  
       </p>  
     </div>  
   </div>  
   <select name="effects" id="effectTypes">  
     <option value="blind">Blind</option>  
     <option value="bounce">Bounce</option>  
     <option value="clip">Clip</option>  
     <option value="drop">Drop</option>  
     <option value="explode">Explode</option>  
     <option value="fade">Fade</option>  
     <option value="fold">Fold</option>  
     <option value="highlight">Highlight</option>  
     <option value="puff">Puff</option>  
     <option value="pulsate">Pulsate</option>  
     <option value="scale">Scale</option>  
     <option value="shake">Shake</option>  
     <option value="size">Size</option>  
     <option value="slide">Slide</option>  
     <option value="transfer">Transfer</option>  
   </select>  
   <button id="button" class="ui-state-default ui-corner-all">Run Effect</button>  
 </body>  
 </html>  


And one I whipped up from Animate.css...:
 <html>  
 <head>  
  <script src="https://code.jquery.com/jquery-3.4.1.min.js" integrity="sha256-CSXorXvZcTkaix6Yvo6HppcZGetbYMGWSFlBw8HfCJo=" crossorigin="anonymous"></script>  
  <link rel="stylesheet" href="https://cdnjs.cloudflare.com/ajax/libs/animate.css/3.7.2/animate.min.css">  
  <script>                 
      $( document ).ready(function() {  
           myDiv = document.querySelector('#myDiv')       
           $("#buttonBounce").on("click", function () {  
                removeAllClasses();  
                myDiv.classList.add('animated', 'bounce')  
           });  
           $("#buttonSwing").on("click", function () {  
                removeAllClasses();  
                myDiv.classList.add('animated', 'swing')  
           });            
           $("#buttonWobble").on("click", function () {  
                removeAllClasses();  
                myDiv.classList.add('animated', 'wobble')            
           });            
           $("#buttonTada").on("click", function () {  
                removeAllClasses();  
                myDiv.classList.add('animated', 'tada')  
           });       
           $("#buttonBounceOut").on("click", function () {  
                removeAllClasses();  
                myDiv.classList.add('animated', 'bounceOutLeft')  
           });            
           function removeAllClasses(){  
                myDiv.classList.remove('animated', 'bounce', 'wobble', 'bounceOutLeft', 'tada', 'swing');  
           }  
      });       
  </script>  
 </head>  
 <body style="background:#000000;">  
 <div id="myDiv" style="margin-top:100px; margin-left:300px; width:250px; background:aqua; font-weight:bold; font-family:Arial; border: 2px solid lime; padding: 10px; border-radius: 25px;">~Something to animate~</h1>  
 <br/><br/>  
 &nbsp;&nbsp;<input type="button" id="buttonBounce" class="ui-state-default ui-corner-all" value="Bounce" />  
 </br><br/>  
 &nbsp;&nbsp;<input type="button" id="buttonTada" class="ui-state-default ui-corner-all" value="Tada" />  
 </br><br/>  
 &nbsp;&nbsp;<input type="button" id="buttonSwing" class="ui-state-default ui-corner-all" value="Swing" />  
 </br><br/>  
 &nbsp;&nbsp;<input type="button" id="buttonWobble" class="ui-state-default ui-corner-all" value="Wobble" />  
 </br><br/>  
 &nbsp;&nbsp;<input type="button" id="buttonBounceOut" class="ui-state-default ui-corner-all" value="Bounce Out" />  
 </br><br/>  
 </body>  
 </html>  


This is what the Animate.css code above will look like..


Happy coding!


Codepens: 

https://codepen.io/radagast27/pen/pooavXd

https://codepen.io/radagast27/pen/xxxYboM


References:

https://jqueryui.com/effect

https://github.com/daneden/animate.css

Google Maps API

The Google Maps API is a very powerful tool that is relatively easy to use if you have some JavaScript background. The below screen was created with the code that follows (Google API Key obfuscated).


Basic Maps API example with hard-coded lat/long custom markers


Get an API key here: https://developers.google.com/maps/documentation/javascript/get-api-key

Maps API exposed operations reference: https://developers.google.com/maps/documentation/javascript/tutorial

 <!DOCTYPE html>  
 <html>  
  <head>  
   <title>Custom Markers</title>  
   <meta name="viewport" content="width=device-width, initial-scale=1.0, user-scalable=no">  
   <meta charset="utf-8">  
   <style>  
    /* Always set the map height explicitly to define the size of the div  
     * element that contains the map. */  
    #map {  
     height: 100%;  
    }  
    /* Optional: Makes the sample page fill the window. */  
    html, body {  
     height: 100%;  
     margin: 0;  
     padding: 0;  
    }  
   </style>  
  </head>  
  <body>  
  <div>  
  Debug/Inspect...  
  </div>  
   <div id="map"></div>  
   <script>  
    var map;  
    function initMap() {  
     map = new google.maps.Map(  
       document.getElementById('map'),  
       {center: new google.maps.LatLng(43.0589, -88.0988), zoom: 11, mapTypeId: 'hybrid'});  
     var icons = {  
      bucks: {  
       icon: 'bucks.png'  
      },  
      brewers: {  
       icon: 'brewers.png'  
      },  
      panthers: {  
       icon: 'panthers.jpg'  
      }  
     };  
     var features = [  
      {  
       position: new google.maps.LatLng(43.0280, -87.9712),  
       type: 'brewers'  
      }, {  
       position: new google.maps.LatLng(42.9930, -87.9210),  
       type: 'panthers'  
      }, {  
       position: new google.maps.LatLng(43.0000, -87.8379),  
       type: 'bucks'  
      }  
     ];  
     // Create markers.  
     for (var i = 0; i < features.length; i++) {  
      var marker = new google.maps.Marker({  
       position: features[i].position,  
       icon: icons[features[i].type].icon,  
       map: map  
      });  
     };  
           //Must have API with access to the Places API to get marker click details without much manual code  
    }  
   </script>  
   <script async defer src="https://maps.googleapis.com/maps/api/js?key=XXXXXXXXXXXXXXXXXXXX&callback=initMap">  
   </script>  
  </body>  
 </html>